Using Home Organization Products Without Creating More Clutter
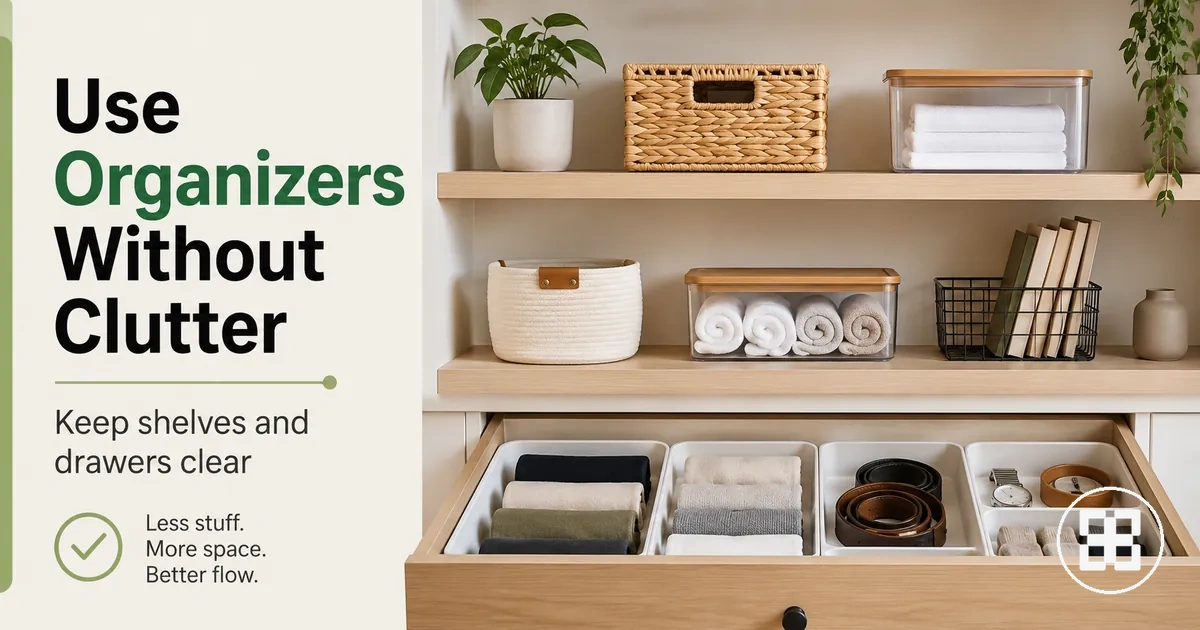
Home organization products reduce clutter only when excess items are removed, item groups are clear, and return habits are easy to follow. Storage organizers support decluttering, but they do not replace it.
Storage organizers support decluttering, but they do not replace it.
Bins, baskets, drawer dividers, and labels can hide clutter instead of reducing it when they are added before sorting. A bin filled beyond its defined item group becomes overflow storage, while too many baskets can reduce visibility and make unused items harder to notice. Decluttering first controls item volume, so each organizer supports one item group, one return habit, and a clear clutter-control purpose.
The available space should still leave room to remove and return each item without moving other containers.
For example, active cooking tools may need a drawer divider that keeps each item visible and within easy access, while less-used tools can sit in labeled storage if the category remains clear. The available space should still leave room to remove and return each item without moving other containers. This arrangement works only when household members can see or identify where shared items belong and follow the same return habits.
When item groups exceed the available storage space, the next action is decluttering rather than adding more organizers.
When item groups exceed the available storage space, the next action is decluttering rather than adding more organizers. This is the practical difference between reducing clutter and hiding clutter: organization assigns a usable place to retained items, while decluttering removes the excess that no storage product can resolve.
Table of Contents
Separate decluttering from organizing products
Decluttering decides what stays by removing excess items, while organizing products decide where kept items should live. Separate decluttering from organizing products so storage products support clutter control instead of becoming containers for hidden clutter.
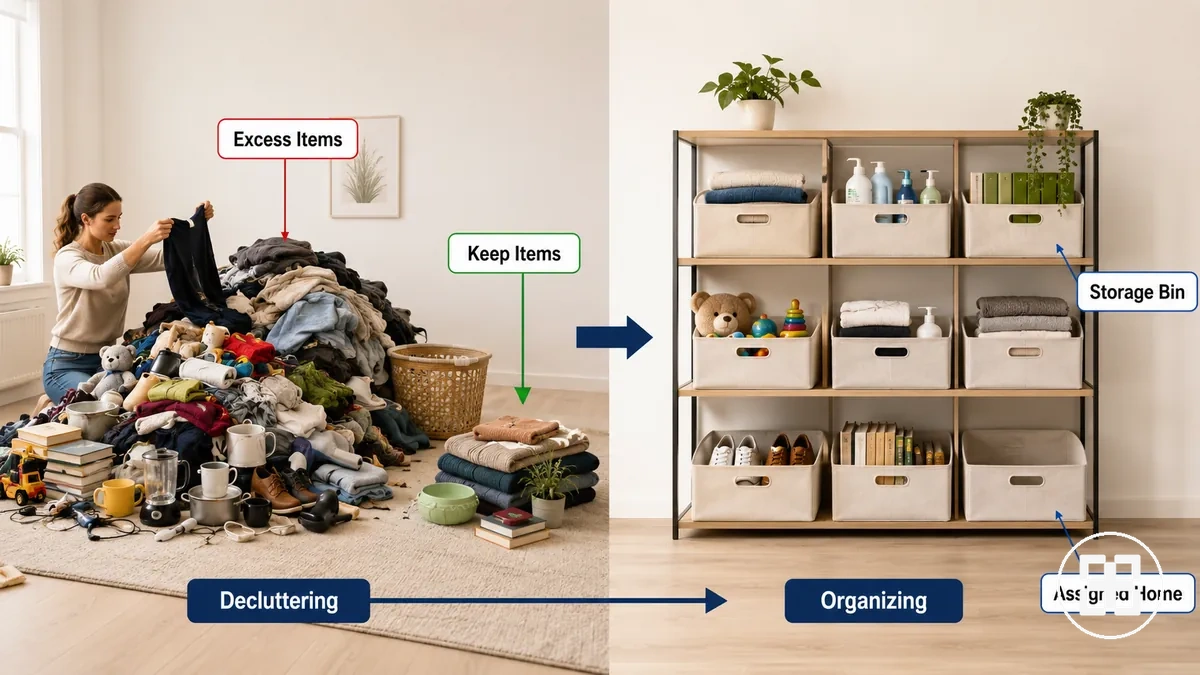
Bins can preserve clutter when excess items remain because they increase storage volume without reducing item count. Overfilling also makes item ownership less clear, especially when shared items are stored without a defined category. This distinction sits within the broader home organization products guide and keeps product purpose separate from the decision to remove or keep an item.
Bins can preserve clutter when excess items remain because they increase storage volume without reducing item count.
Organizing products work after a keep-or-remove decision assigns active items and other kept items to a defined home. For example, retained kitchen utensils can be grouped in one labeled bin after duplicates and unused items are removed. Storage products support clutter control, but they cannot solve overbuying, overfilling, or unclear item ownership by themselves.
| Action | Purpose |
|---|---|
| Decluttering | Decides what stays by removing excess items. |
| Organizing | Assigns kept items to a defined storage location. |
| Reviewing | Checks whether stored items still belong to the selected category and ownership group. |
Remove excess before adding bins or dividers
Remove excess items before assigning bins or drawer dividers. Only retained items should move into an organizer so storage space is reserved for items that are still used and belong in the category.
Remove excess items before assigning bins or drawer dividers.
Remove excess before adding bins or dividers because the visual below shows how sorting first prevents organizers from storing clutter. Duplicates, damaged items, and unused items should be removed before choosing a bin or divider so the organizer matches the reduced item volume.
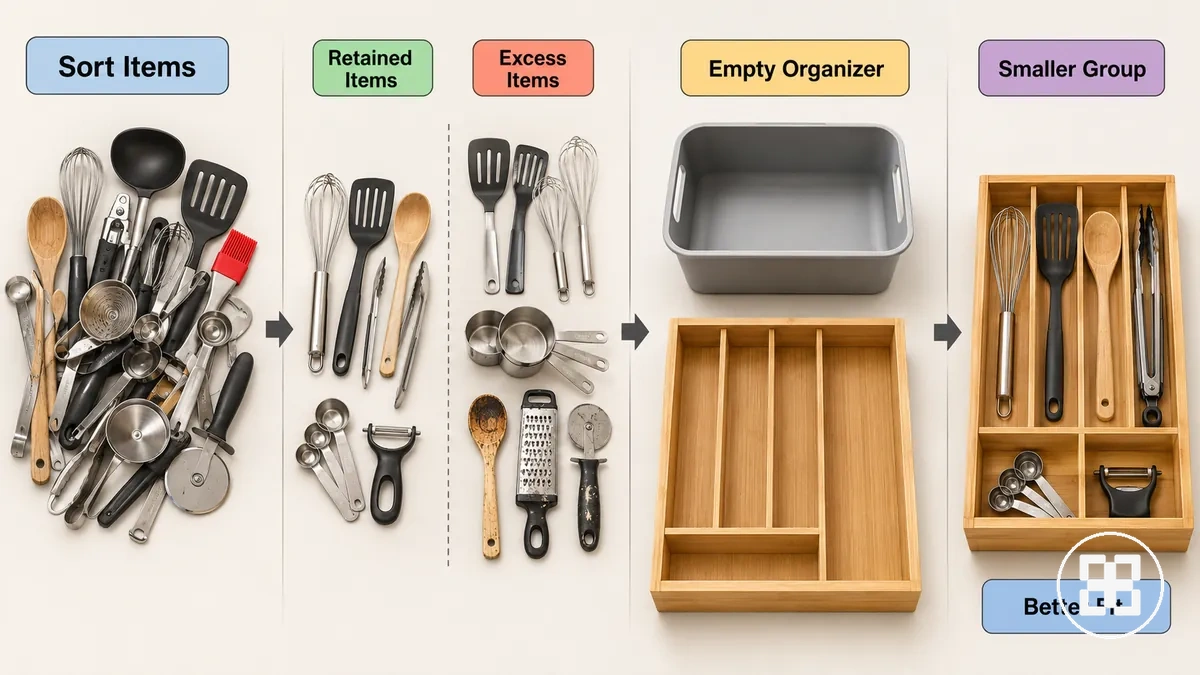
- Sort the item group and separate retained items from duplicates, damaged items, and unused items so only useful items remain.
- Remove, donate, recycle, or discard duplicates, damaged items, and unused items because they occupy space without improving organization.
- Place only the retained items into the selected bins or drawer dividers after the item volume has been reduced.
- Check that the organizer fits the smaller item group without overfilling so items remain easy to identify, access, and return.
For example, removing duplicate measuring cups and broken kitchen utensils before using one drawer divider leaves enough space for the retained tools, making the organizer easier to use without adding extra containers.
Keep one organizing area active at a time
Keep one organizing area active at a time so unfinished organizing stays contained instead of spreading into overflow piles. Move to another drawer, shelf, closet zone, or surface only after the current area becomes a usable area.
Move to another drawer, shelf, closet zone, or surface only after the current area becomes a usable area.
Keep one organizing area active at a time because the example below shows how one active area, one temporary holding space, and one completion signal keep work controlled. If item volume exceeds the available holding space, pause and finish the current area before starting another.
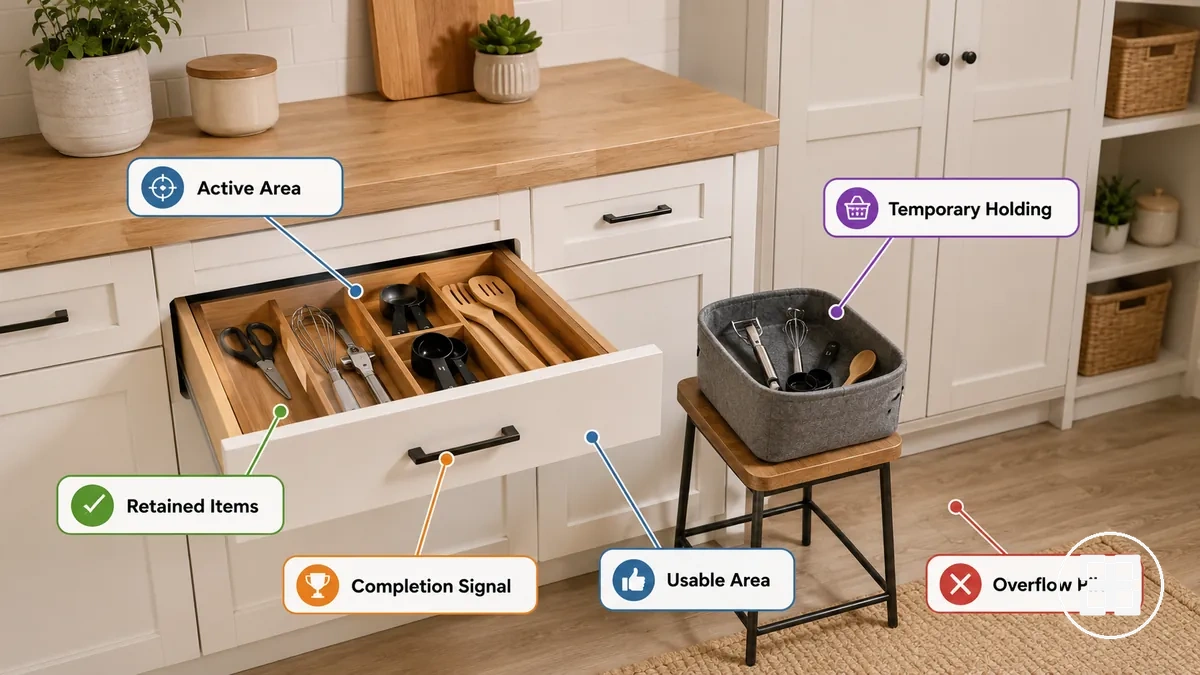
- Start with one drawer, shelf, closet zone, or surface as the only active area.
- Use one temporary holding space so removed items stay connected to the current area.
- Use a clear completion signal: return retained items until the selected area is fully usable.
- Do not begin a second organizing area until the first is complete, because unfinished sorting can create overflow piles and make organizers seem insufficient when the real issue is incomplete work.
For example, finish organizing one kitchen drawer and return every retained utensil before opening the next drawer. Jumping between multiple areas can leave unfinished sorting in several places, making storage products appear too limited even though the usable area has not yet been completed.
Match each organizer to a clear item group
Each organizer should hold one clear item group with one defined purpose. A category match keeps related items together, supports consistent return behavior, and prevents unrelated items from accumulating in the same container.
Each organizer should hold one clear item group with one defined purpose.
Match each organizer to a clear item group because the illustration below verifies that one organizer is assigned to one category with a limited quantity of related items. It also shows that a clear label and separated grouping make it easier to return each item to its assigned home.
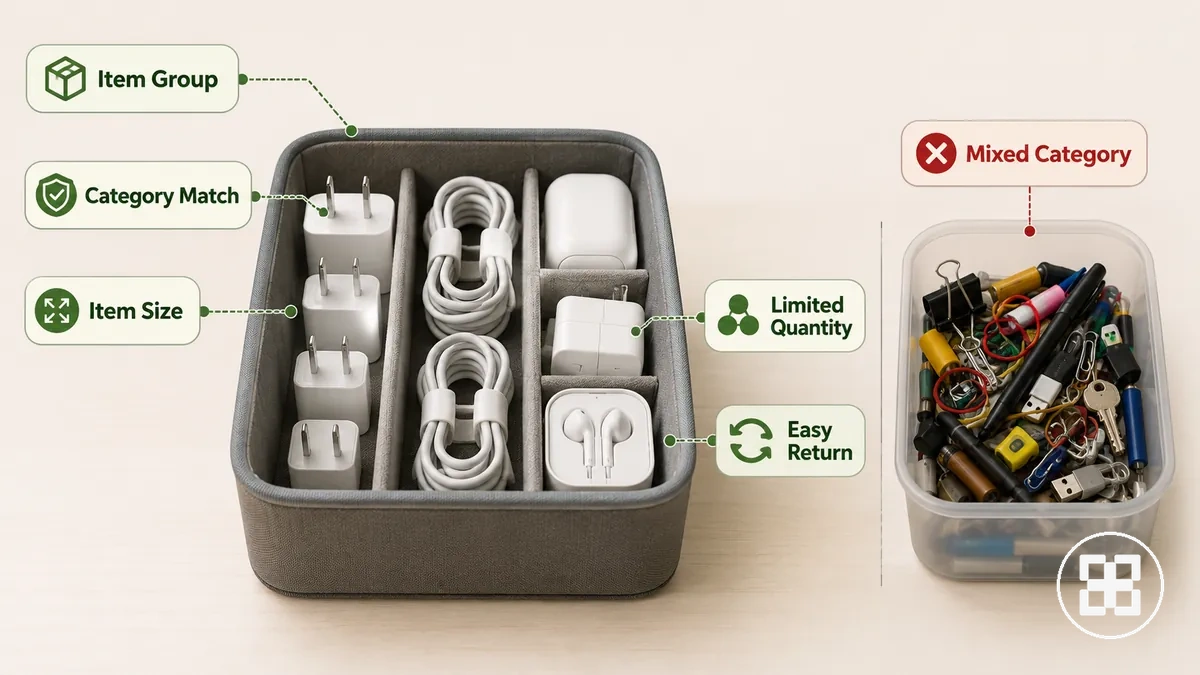
Each organizer should match the item group, item size, quantity, frequency of use, and return behavior of the stored items. Small grouped items fit compact dividers or containers, while larger grouped items require an organizer with enough capacity to avoid visible overflow. Items used together and returned to the same assigned home maintain a clearer category and purpose.
Apply these criteria before you choose products for real use .
A mixed-category bin signals that one organizer no longer has a clear purpose because unrelated items compete for the same space. For example, storing batteries, pens, charging cables, and kitchen clips in one container makes items harder to return and increases visible overflow as quantity grows. Apply these criteria before you choose products for real use.
A mixed-category bin signals that one organizer no longer has a clear purpose because unrelated items compete for the same space.
Use the following checklist to verify that each organizer remains matched to one clear item group instead of becoming mixed storage.
- Confirm that each organizer contains only one item group or category.
- Check that item size and quantity fit the organizer without visible overflow.
- Verify that stored items share similar frequency of use and the same return behavior.
- Look for mixed-category bins or items that are difficult to return, then separate them into clear category groups.
Place organizers by access, visibility, and item frequency
Organizer placement should follow item frequency, visibility needs, and return speed. Daily-use items benefit from easy access, while occasional-use items and stored items should be placed where they remain easy to retrieve and return after use.
Organizer placement should follow item frequency, visibility needs, and return speed.
Place organizers according to how often items are used because access, visibility, and item frequency influence consistent return habits. Daily-use items fit open access when they are used repeatedly throughout normal routines, while occasional-use items benefit from contained storage that remains easy to reach. Stored items work best in contained storage with clear labels so they stay identifiable without occupying highly visible space.
The table below summarizes how organizer placement changes according to access, visibility, and item frequency.
The table below summarizes how organizer placement changes according to access, visibility, and item frequency.
| Item frequency | Visibility need | Better placement | Clutter risk |
|---|---|---|---|
| Daily-use items | High | Open access within easy reach | Items remain on nearby surfaces if returning them takes extra effort |
| Occasional-use items | Medium | Contained storage in an accessible shelf or cabinet | Items are forgotten when labels or storage locations are unclear |
| Stored items | Low | Contained storage with clear labels | Retrieval becomes slower if storage locations are not identified |
For example, cooking utensils used every day are easier to return when they remain within easy reach, while seasonal baking equipment can be stored in a labeled cabinet because it is used less frequently. Compare open access with contained storage according to retrieval needs rather than treating either format as universally suitable, then review the open or closed organizer choice for a detailed comparison.
Open baskets for frequently used items
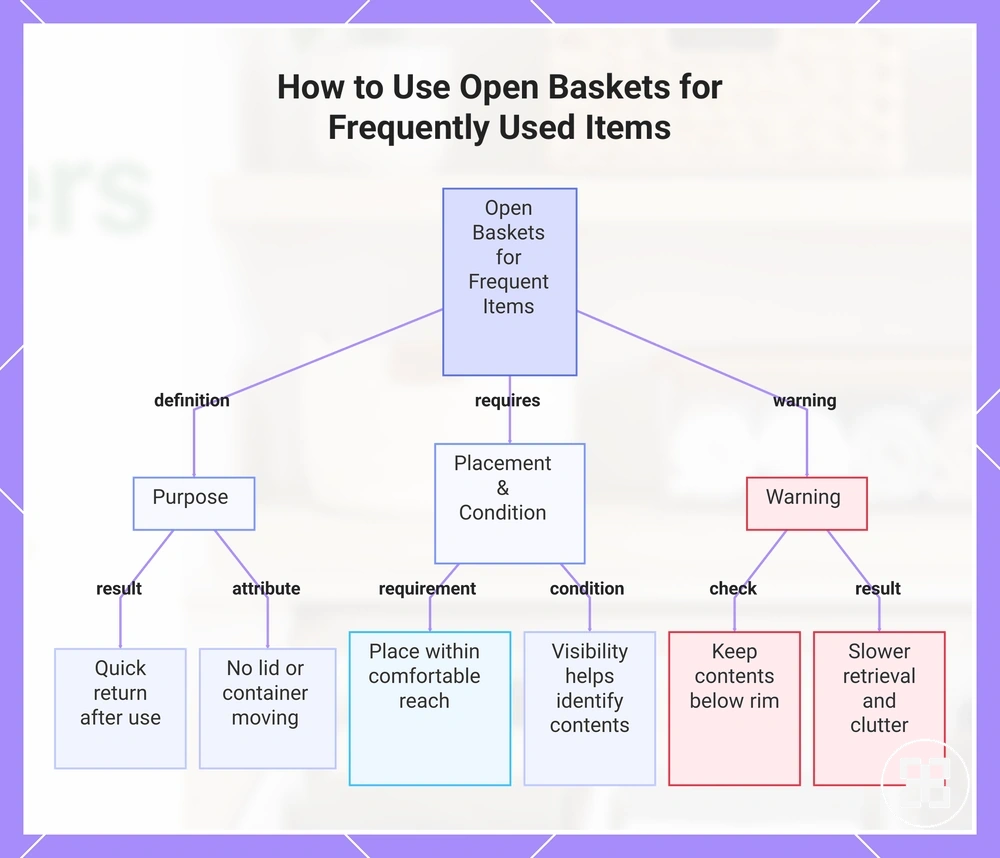
Open baskets suit frequently used items that need a quick return after each use. Place the basket within comfortable reach so daily-use items can move in and out without opening a lid or moving another container.
Open baskets suit frequently used items that need a quick return after each use.
Use open baskets when visibility helps people identify the contents and loose grouping keeps related items easy to put back. Keep the contents below the rim because overfill risk increases when items extend above it, making retrieval slower and adding visual clutter. For example, a basket near the sofa can hold regularly used throws when quick return matters after use.
For example, a basket near the sofa can hold regularly used throws when quick return matters after use.
This chart shows the purpose, placement conditions, and warning for using open baskets to store frequently used items for quick access.
Clear boxes for stored items that still need visibility
Clear boxes suit stored items that still need identification without opening each container. Their transparency improves visibility, while lids keep contents contained for occasional rather than immediate access.
Clear boxes suit stored items that still need identification without opening each container.
Use clear boxes when stored items need to remain identifiable, and add labels when similar containers or mixed categories reduce visual clarity. Stacking saves surface space but limits access because upper boxes must be moved before lower boxes can be opened. Clear storage can reduce searching, but visible boxes filled with mixed items can still create confusion and visual clutter.
Control capacity inside drawers, shelves, and closets
Capacity control keeps organizers from becoming overflow containers by matching available storage volume with the item quantity they hold. Drawers, shelves, and closets each have a physical limit that should leave enough empty return space for everyday use.
Capacity control succeeds when fill level supports normal access instead of turning storage into overflow.
Drawers work best when organizer fit keeps active items separated inside compartments without creating blocked access. Shelves rely on available height and shelf space so bins remain easy to remove, while closets need grouped storage that still allows closet bins to be returned without disturbing nearby items. Capacity control succeeds when fill level supports normal access instead of turning storage into overflow.
Reduce item quantity or redistribute items before those conditions make clutter harder to control.
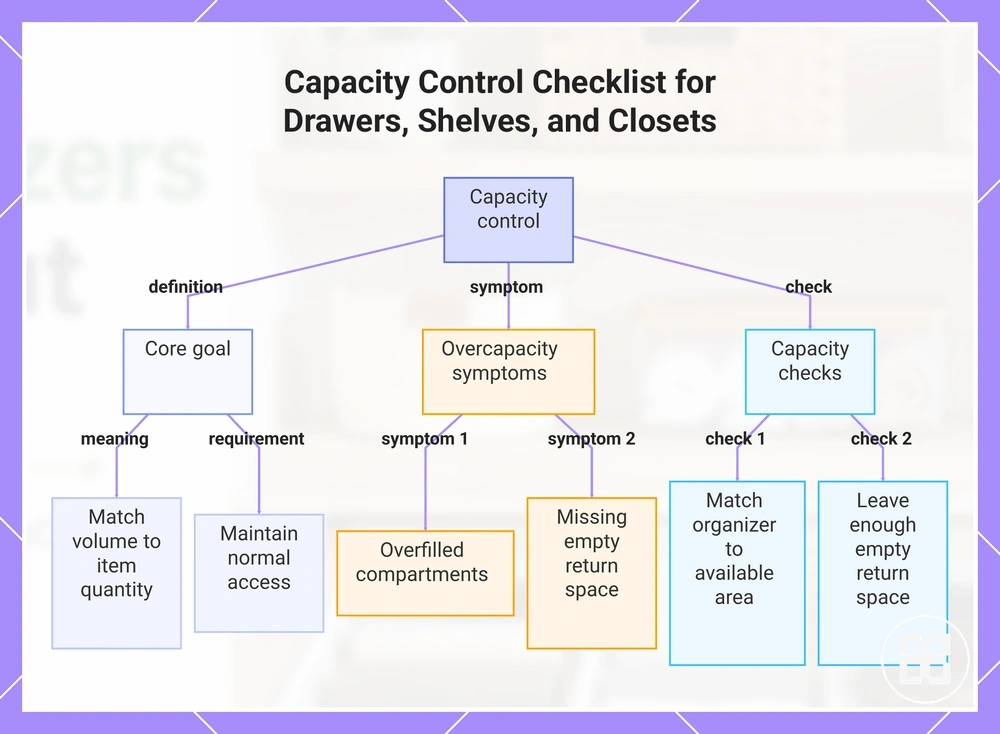
Overfilled compartments, blocked access, unstable stacking, and missing empty return space indicate that storage has exceeded its usable capacity. Reduce item quantity or redistribute items before those conditions make clutter harder to control.
Overfilled compartments, blocked access, unstable stacking, and missing empty return space indicate that storage has exceeded its usable capacity.
Use these capacity checks before adding more organizers:
- Drawers: If dividers become crowded and active items are difficult to return, reduce item quantity to avoid blocked access.
- Shelves: If stacked bins limit access because available height is restricted, reorganize shelf space before adding more items.
- Closets: If closet bins create grouped overflow that makes returning items difficult, divide contents into separate storage groups.
- Organizer fit: Match each organizer to the available storage area so fill level stays within the physical limit.
- Empty return space: Leave enough free space to return items easily instead of forcing them into crowded compartments.
This chart shows the core goal, symptoms of overcapacity, and the main checks to maintain usable storage space in drawers, shelves, and closets.
Drawer dividers for active item separation
Drawer dividers separate active items inside one drawer by creating clear boundaries for each item group. They are most effective when each compartment keeps frequently used items easy to reach and easy to return after use.
Drawer dividers separate active items inside one drawer by creating clear boundaries for each item group.
Group similar active items together, then assign divider spaces that suit each item group's width and reach depth without restricting removability. Keep compartment count limited to the groups you use regularly so each compartment remains practical instead of fragmented. For example, place cooking utensils in one compartment and measuring spoons in another so each item group stays separated, easy to reach, and easy to return.
Shelf and closet bins for grouped overflow
Shelf bins and closet bins should hold grouped overflow from one item category rather than unrelated items placed together for convenience. They remain useful only when the stored group has a clear return path and bin access is not blocked.
They remain useful only when the stored group has a clear return path and bin access is not blocked.
Choose shelf bins that fit beneath the available shelf height and closet bins that remain reachable within the closet depth. Add a label when the contents are not immediately visible or are used infrequently, and reduce the group when lifting, opening, or returning the bin creates return difficulty. For example, keep seasonal decorations in one labelled closet bin or backup toiletries in one accessible shelf bin instead of mixing both categories.
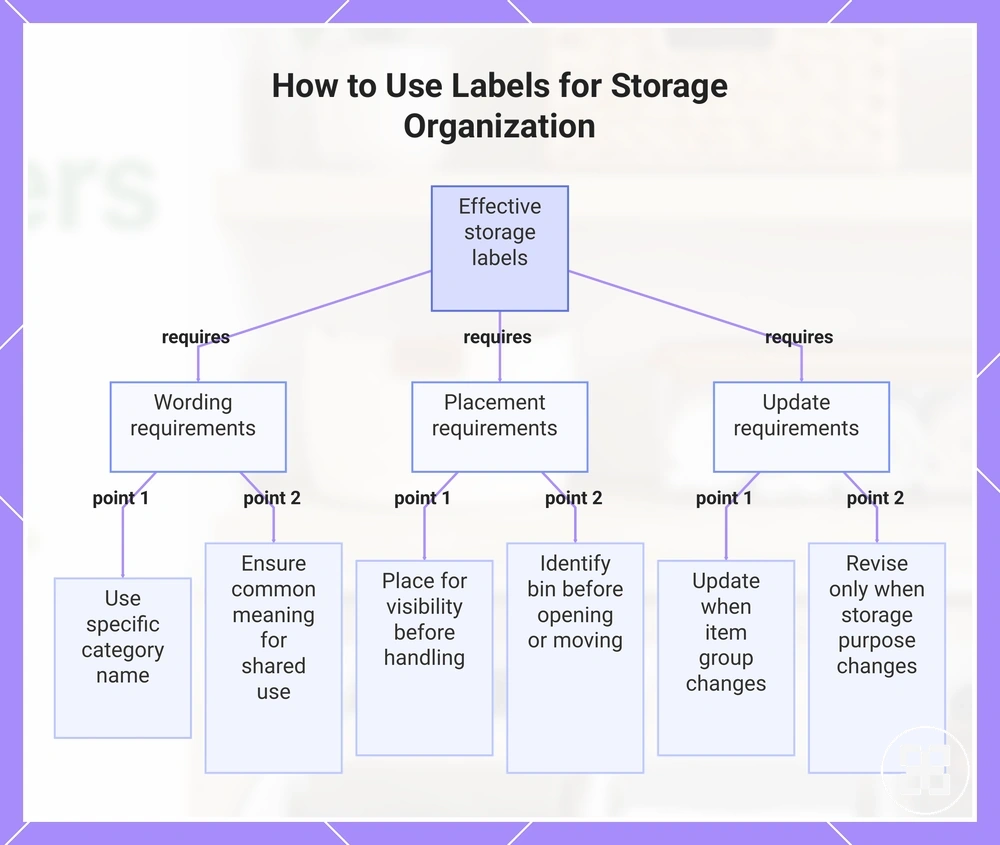
Use labels to make storage easy to return
Labels make storage bins easier to return to the correct category because they act as return cues rather than decoration. They work only when the label wording matches the actual item group inside the container.
- Use specific label wording that names one category clearly, such as “Winter Gloves” instead of “Miscellaneous.”
- Place each label where its visibility supports identification before the storage bin is opened or moved.
- Update the label when the item group changes so the wording and contents do not create a mismatch.
- For shared use, choose wording that every user interprets in the same way and revise it only when the storage purpose changes.
Category specificity supports consistent return behavior, while clear visibility helps users identify the correct storage bin before handling it. In shared use, labels need a common meaning, and update timing should follow a real change in the stored category rather than a temporary item swap.
In a shared space or a category that changes over time, flexible labels should still describe the current contents accurately.
In a shared space or a category that changes over time, flexible labels should still describe the current contents accurately. For example, change a bin label from “Holiday Decorations” to “Camping Equipment” only after the item group and storage purpose have changed.
This chart shows the key requirements for using labels to ensure items are returned to the correct storage category.
This chart shows the key requirements for using labels to ensure items are returned to the correct storage category.
Prevent organizer placement from adding visual clutter
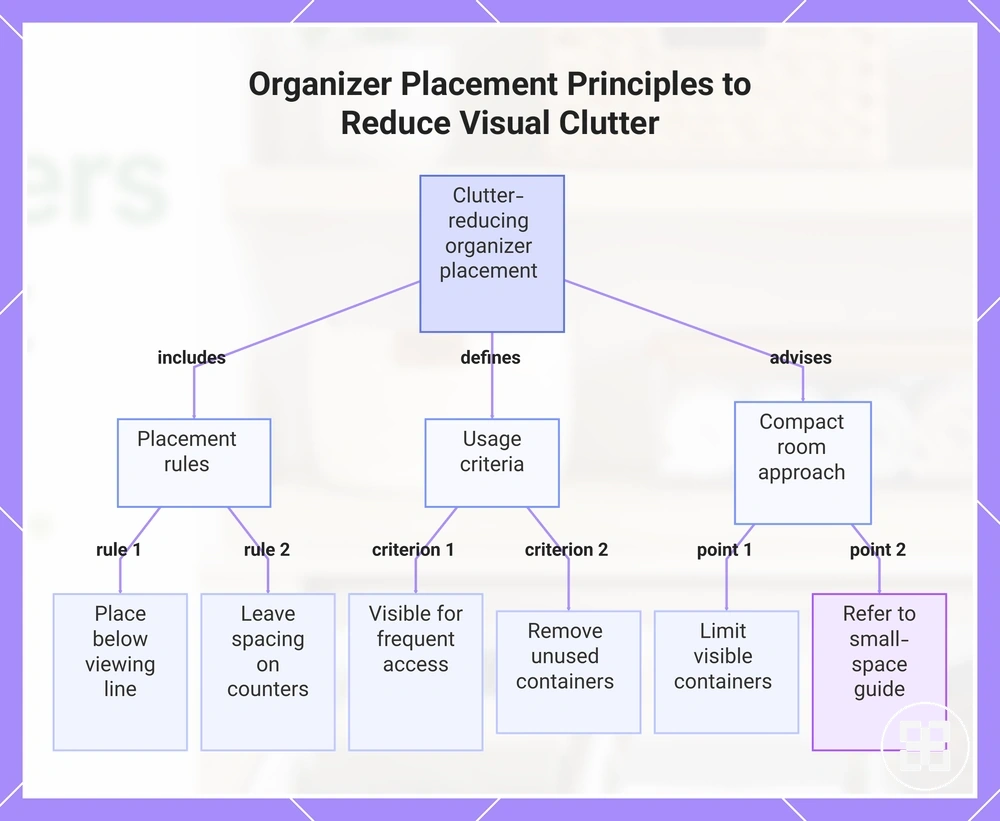
Organizer placement reduces visual clutter only when visible containers improve access without increasing visual density. Place organizers where they support retrieval while keeping shelves, counters, open storage, and compact rooms easy to scan.
- Keep sightlines open by placing organizers below the main viewing line instead of stacking visible containers across the front of shelves.
- Reduce surface crowding by leaving clear spacing between organizers on counters and other open surfaces.
- Use open baskets and clear boxes only when frequent access justifies keeping their contents visible.
- Group related organizers together instead of scattering individual containers throughout compact rooms.
- Remove or relocate visible containers that no longer improve access so they do not become additional visual clutter.
Organizer placement works best when each visible container has a clear purpose and enough surrounding spacing to avoid visual overload. Crowded shelves, tightly packed counters, and excessive visible containers increase visual clutter even when every organizer is neatly arranged.
Organizer placement works best when each visible container has a clear purpose and enough surrounding spacing to avoid visual overload.
A visible organizer is useful when it provides faster access to frequently used items, but it becomes another object to manage when it stores infrequently used or unrelated items without improving retrieval. For example, keeping one open basket for daily mail near an entryway supports access, while adding multiple half-filled baskets on the same surface only increases visible clutter.
If the room itself limits placement options, continue with small-space clutter control for space-specific guidance.
In compact rooms, limiting the number of visible containers usually has a greater effect on visual clarity than adding more organizers. If the room itself limits placement options, continue with small-space clutter control for space-specific guidance.
In compact rooms, limiting the number of visible containers usually has a greater effect on visual clarity than adding more organizers.
This chart outlines the main placement rules, usage criteria, and compact room approach for preventing organizer placement from creating visual clutter.
Review filled organizers before adding more products
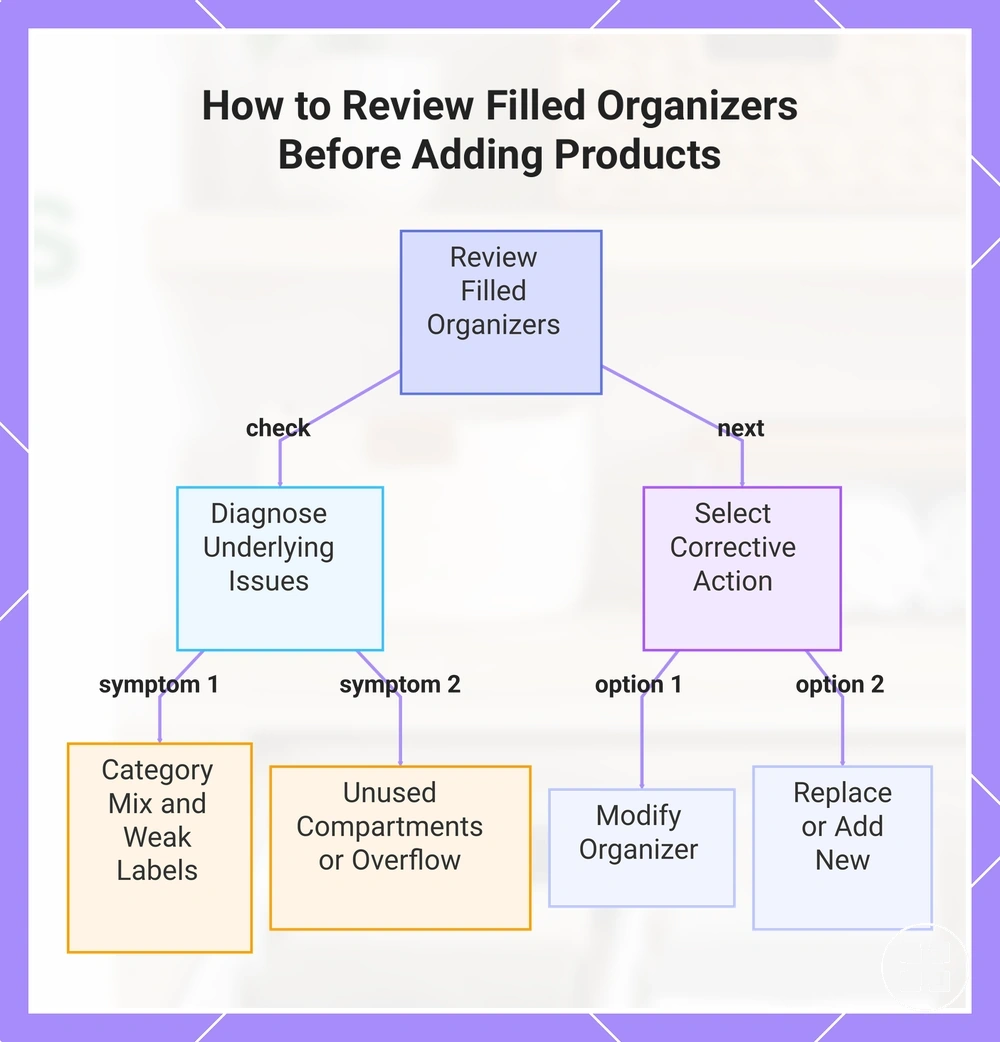
Filled organizers should be reviewed before more products are added because the underlying issue may be category mix, placement, or capacity rather than a lack of containers. The first decision is whether the existing organizer should be emptied, adjusted, relabeled, reduced, replaced, or supplemented.
Use the review to diagnose mixed categories, unused compartments, repeated overflow, and poor return behavior.
Use the review to diagnose mixed categories, unused compartments, repeated overflow, and poor return behavior. Mixed categories and weak labels indicate a need to relabel or regroup, while unused compartments point to poor placement or an unsuitable internal layout. Repeated overflow shows a capacity mismatch only when the same category remains overfilled after unrelated items are removed. For example, if charging cables repeatedly end up outside a partly empty desk organizer, the next step is to adjust the compartment layout or placement before adding another product.
Repeated overflow shows a capacity mismatch only when the same category remains overfilled after unrelated items are removed.
Empty the organizer when it holds unused items, adjust it when placement disrupts return behavior, relabel it when category boundaries are unclear, and reduce it when multiple containers duplicate the same purpose. Replace an organizer when its size or layout no longer fits the assigned category, and supplement it only when recurring overflow continues after category, label, and placement problems have been corrected. Persistent overfill, wrong placement, poor labels, or recurring clutter can also be checked against common organizer problems before choosing the final action.
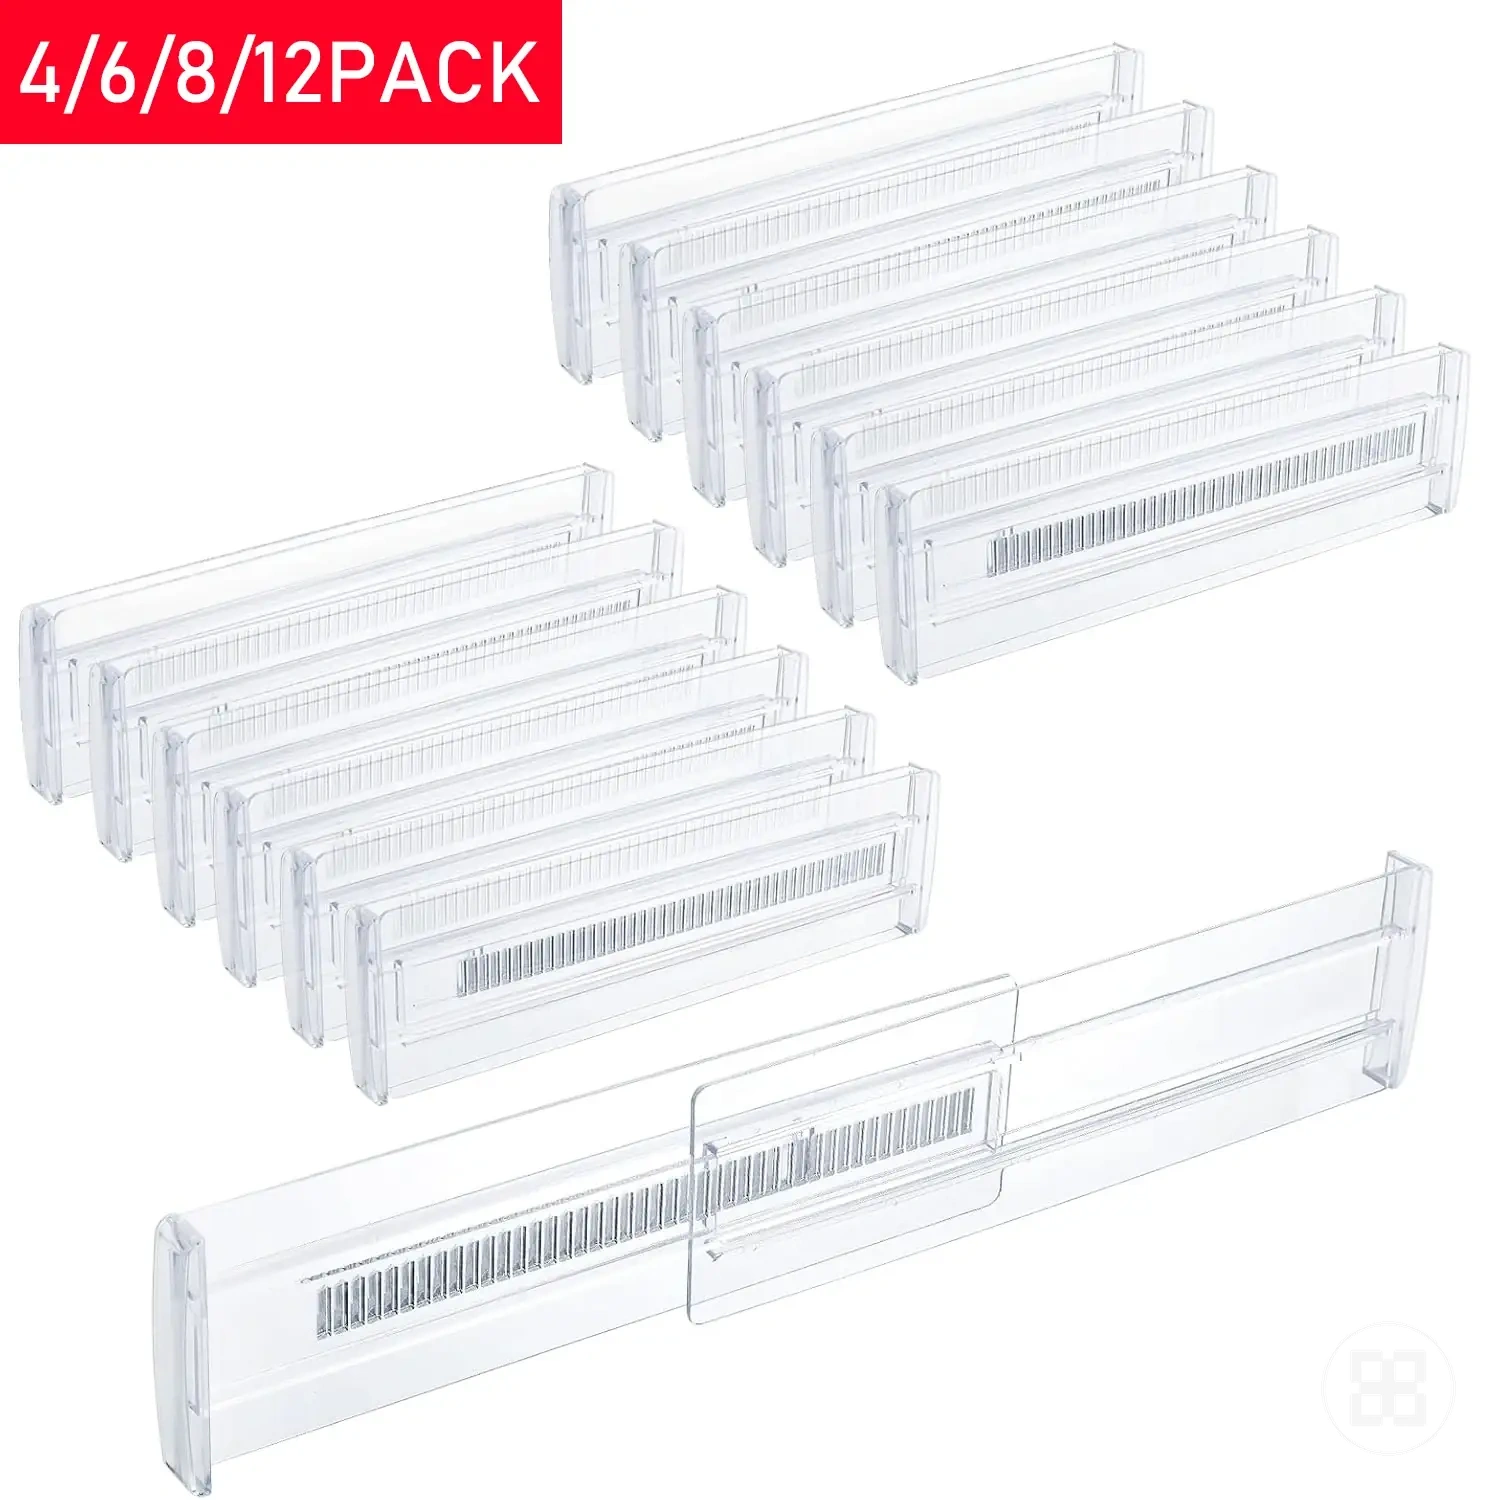
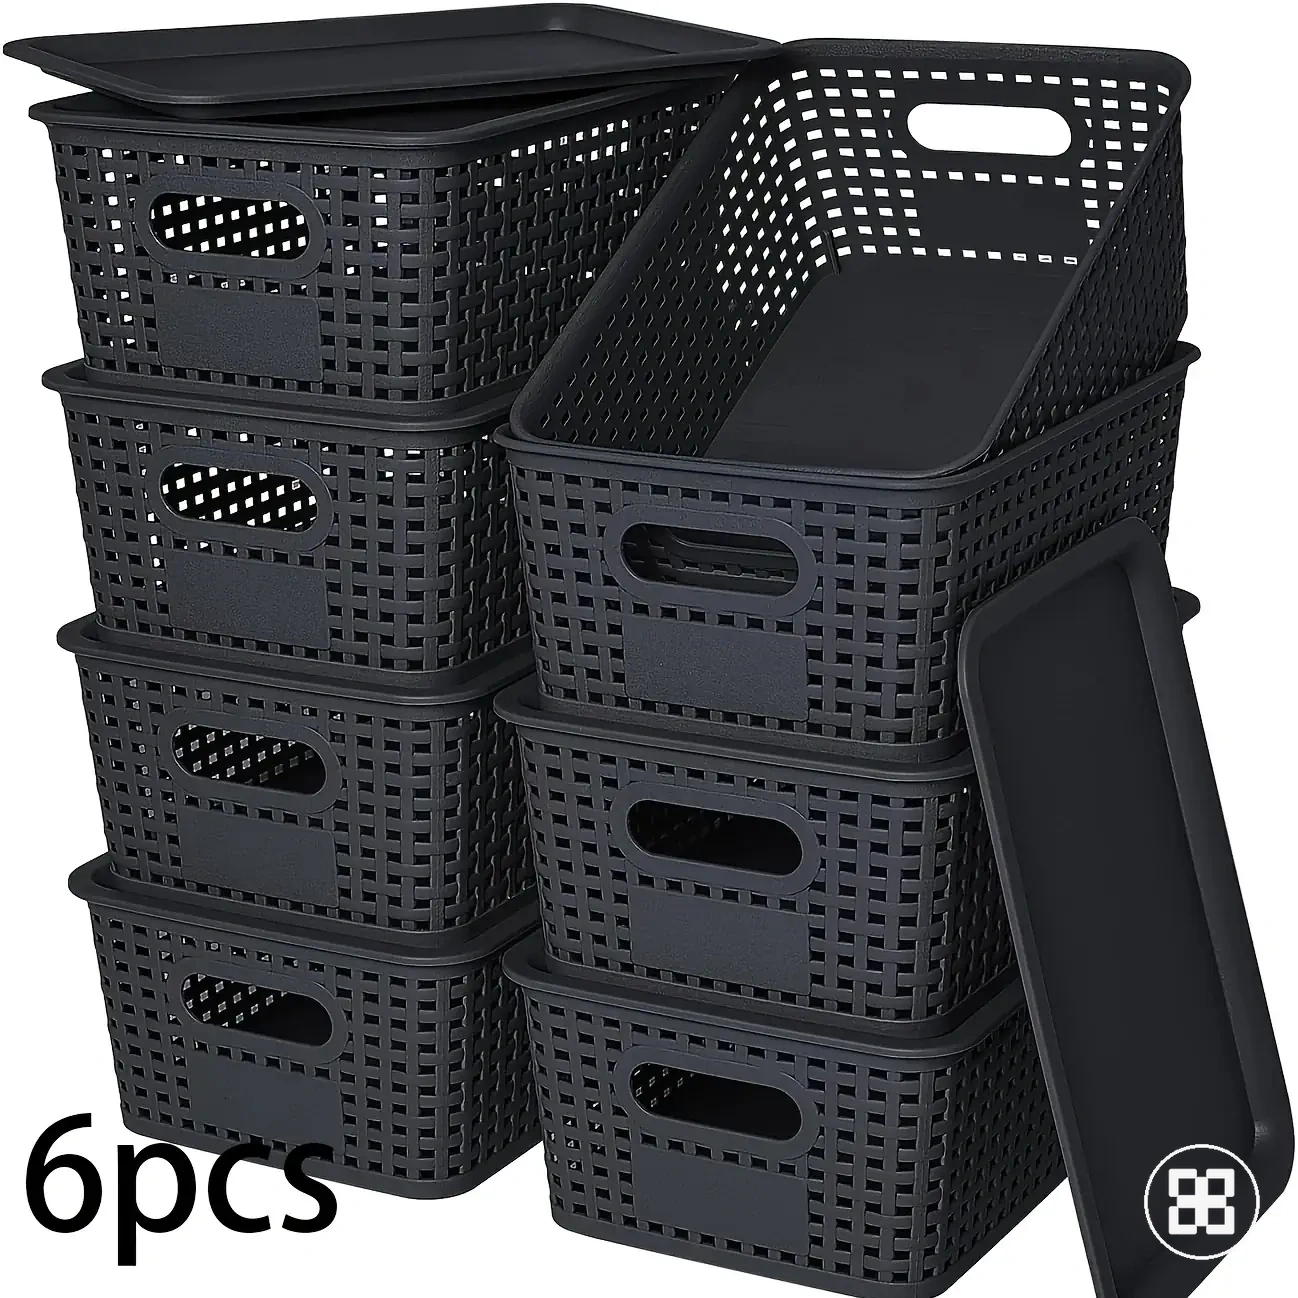
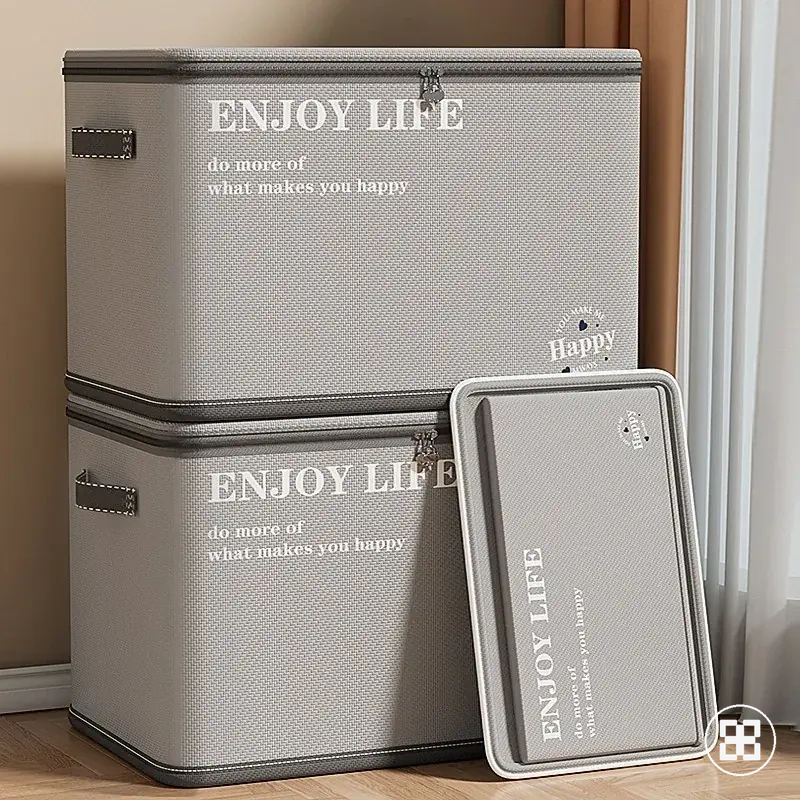
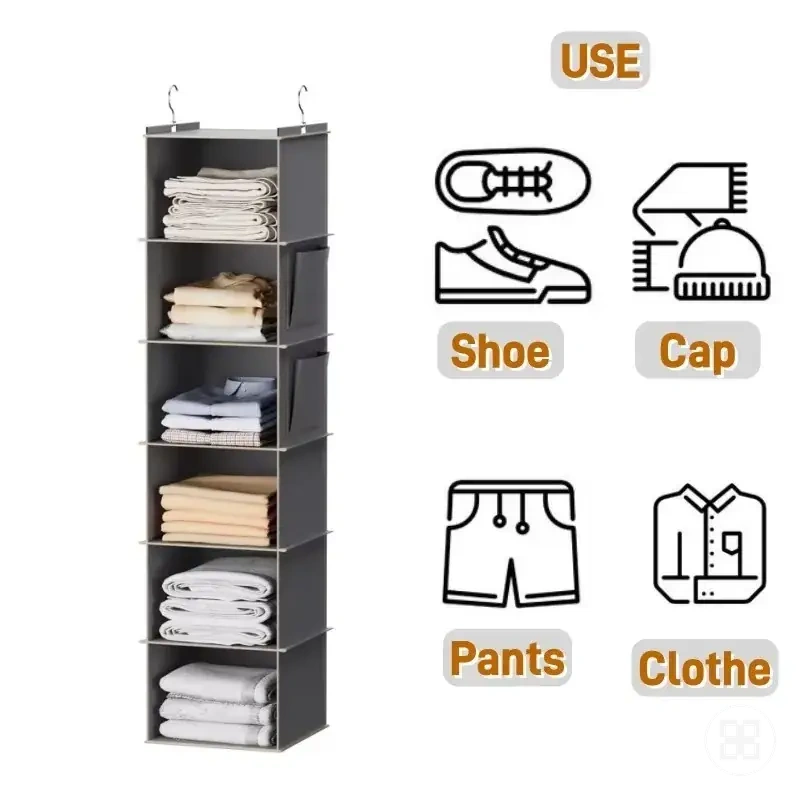
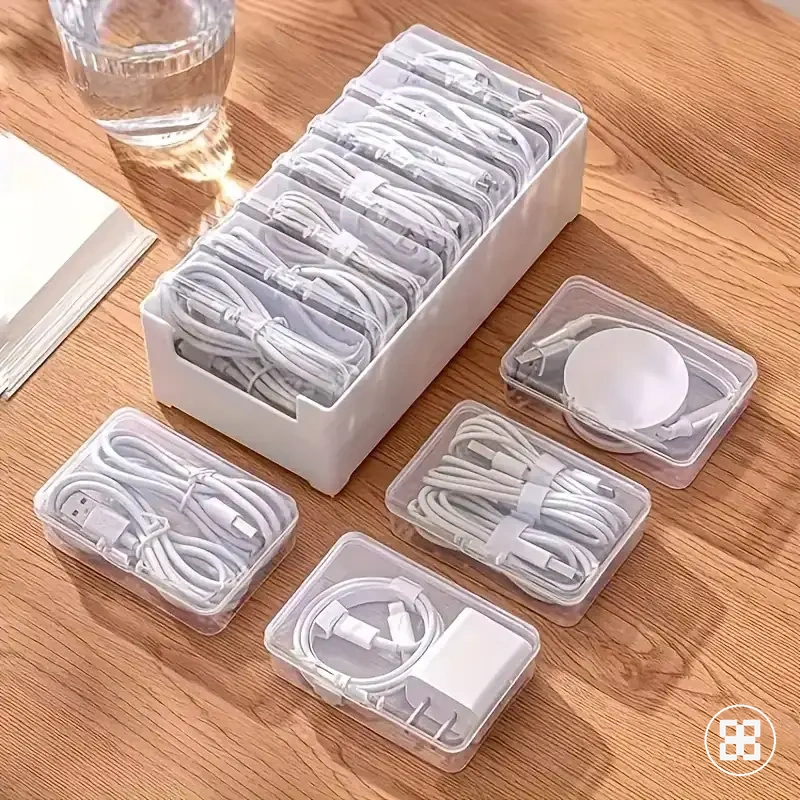
Here are product examples that may make comparison easier.
Here are product examples that may make comparison easier. Before buying, always review the compatibility criteria, essential features, and product details.
This chart shows the two main steps for reviewing a filled organizer: first, diagnose the underlying issues, then select the appropriate corrective action before adding more products.